/projects
Track Bike Design and Fabrication

Updates
Overview
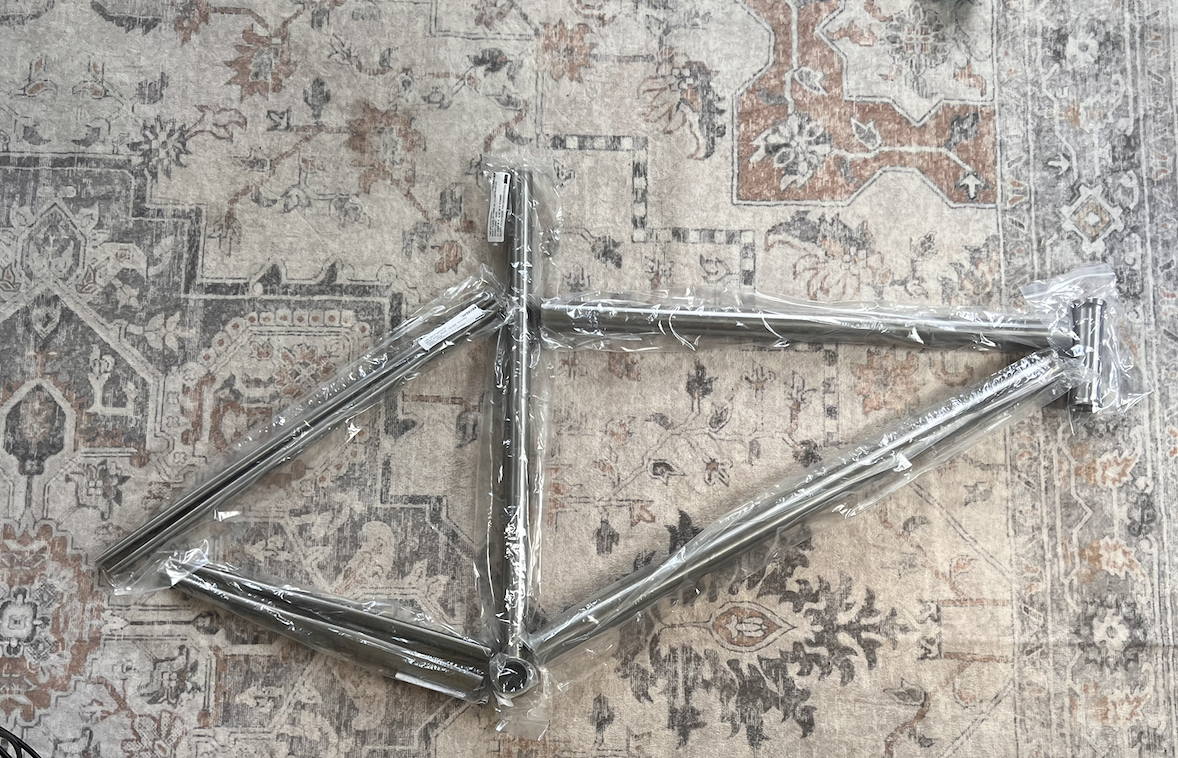
When I first moved to college, I wanted to get a dedicated road bike for commuting. At the time, I didn't own any bikes, as I had just recently sold off my last BMX bike. I originally looked for used frames that would fit me, but it was more than challenging as I'm 6’4”. Alongside this, I had also just recently acquired my first TIG welder, and it was begging for a good project. These two reasons combined were enough for me to decide to build my own frame, a project that I thought wouldn't take longer than a few weeks, but I was quickly corrected as I delved into it.
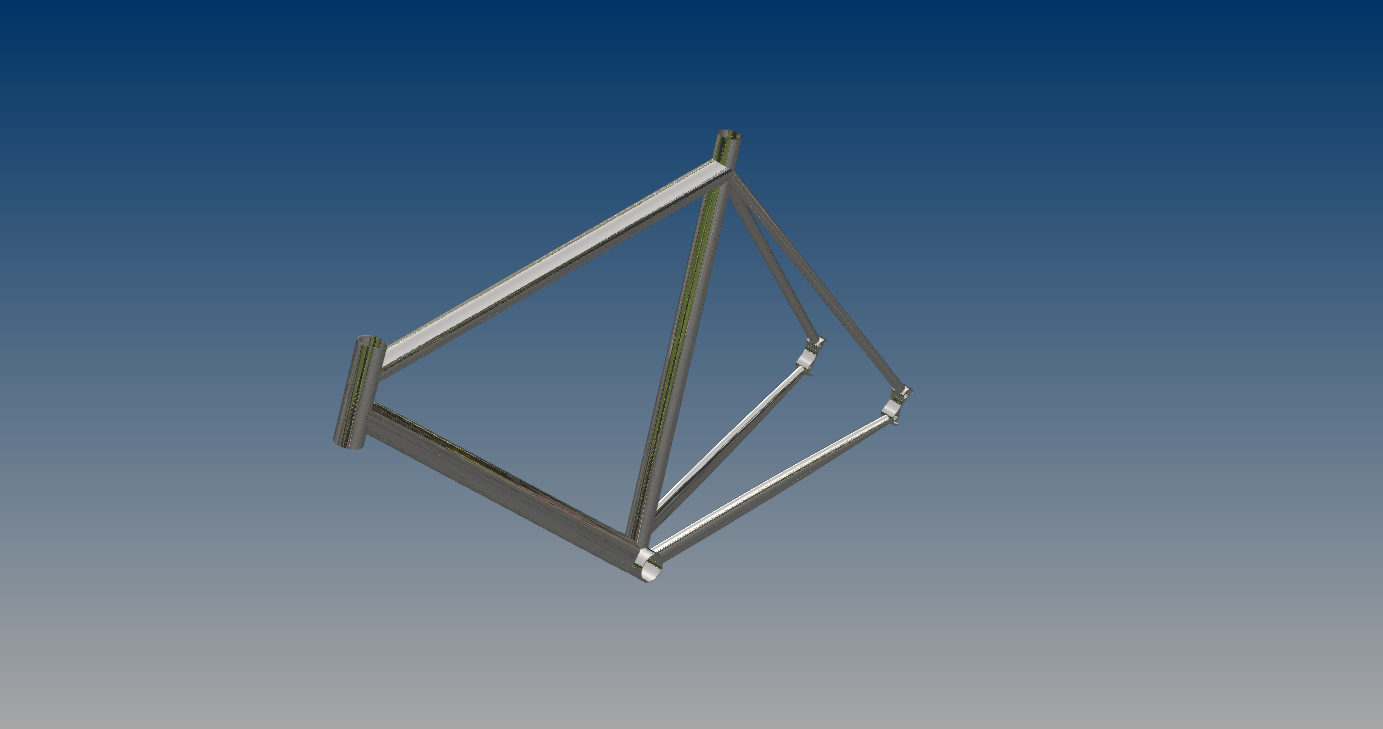
To start this project, I found a free old Schwinn women's mountain bike that had a Shimano groupset. The groupset was taken off, cleaned up, and became the base for the frame. All of these components were modeled in CAD so that accurate frame dimensions could be easily referenced.
The actual geometry of the frame took much longer than expected. I went into this project without knowing much of anything about bike frame setup and rider experience, so I had to learn on the fly. I ended up reading multiple frame design books so I could get to a point where each design decision could be backed up by the theory. This process reminded me a lot of suspension design for a car, but it felt much more open-ended, as designing a bike frame feels more like designing the entire car rather than just the suspension. Everything must be purposely placed to get the most performance out of the bike but also had to look good. Not to mention, I have never ridden a road bike at this point, which made it hard to decide what I would like in a frame.
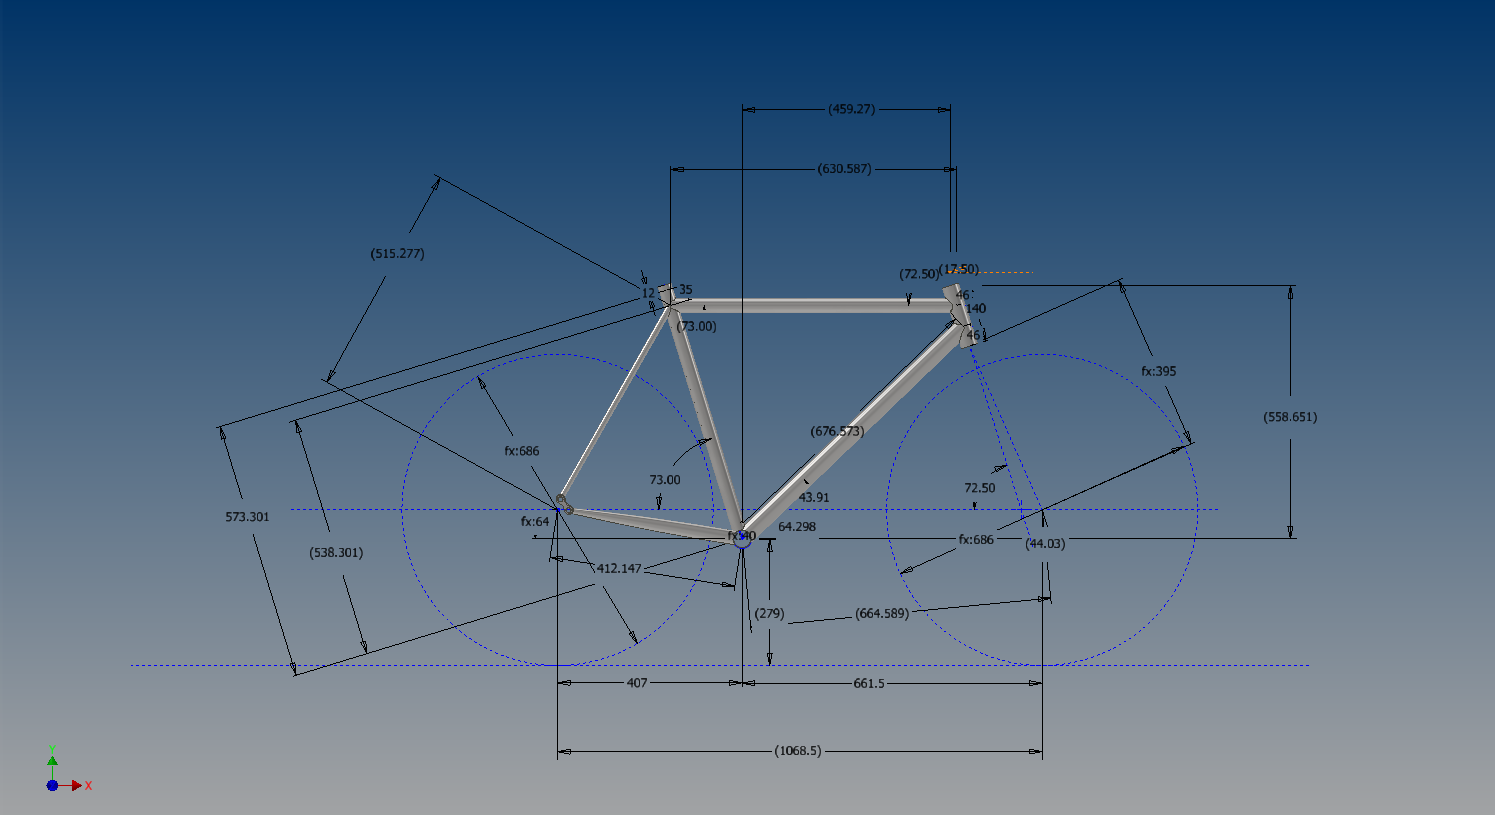
After 22 revisions, the frame layout was specified. I then did some simple hand calculations to make sure the tubing I was planning on using would fit my riding style and wouldn't buckle. I didn't want a fragile, super lightweight, and fast aluminum bike that I would be scared to drop. Instead, I wanted the look and feel of older track bikes with wide downtubes, combined with the durability and feel of the steel frame of a BMX bike. I didn't necessarily want this bike to be super fast, but I wanted it to be able to send off curbs hard and do the common freestyle tricks that I grew up doing on BMX.
With the riding criteria decided, I found a great supplier named "Bicycle Fabrication Supply," where I obtained all of the tubing, dropouts, and other bits and pieces. I cannot recommend this business enough for projects like this. Other parts, like the fork and headset, were bought secondhand.
Simultaneously, I was also designing and building the jig to align all of the tubes. I based my jig design on other known homemade jigs, but instead of buying kits, I was able to use a local plasma cutter, manual mill, and lathe to make the fixturing locators. With this, I was able to create a very simple jig that could at least hold all of the parts together.
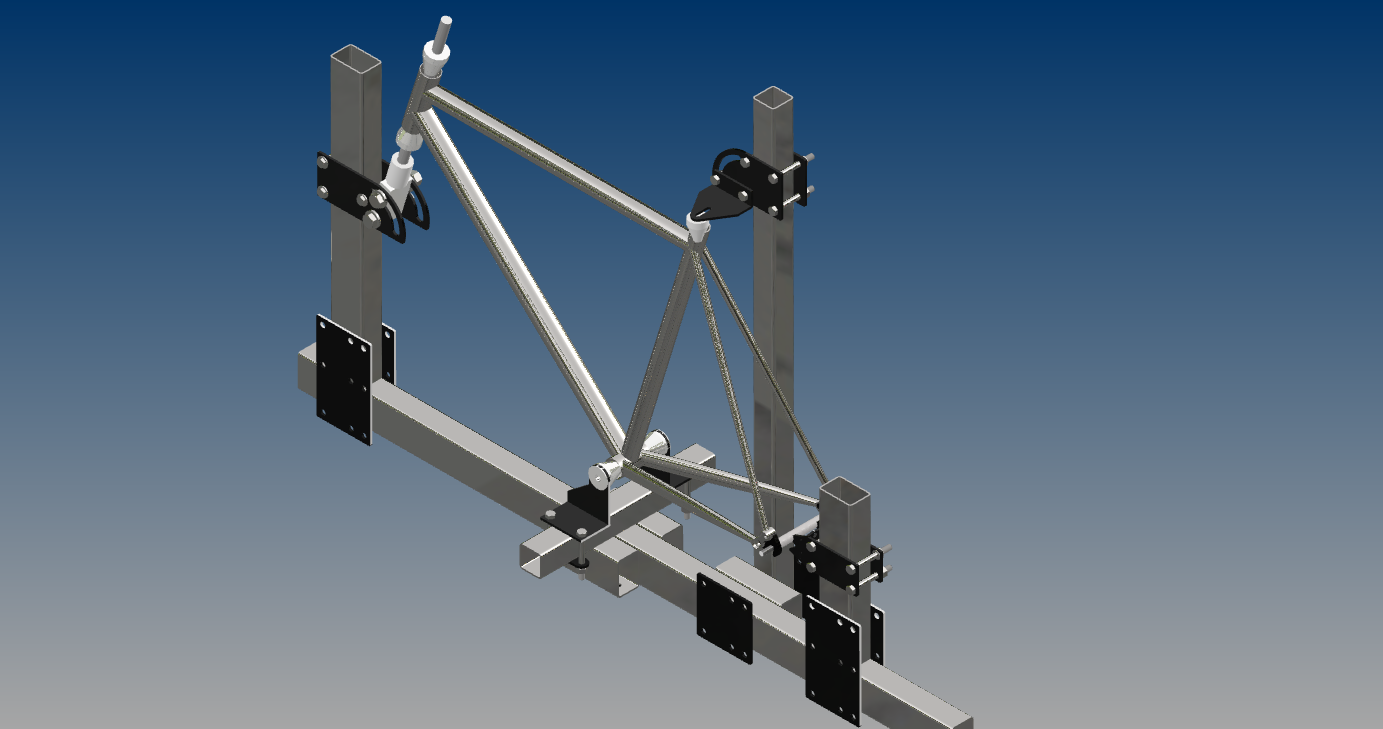
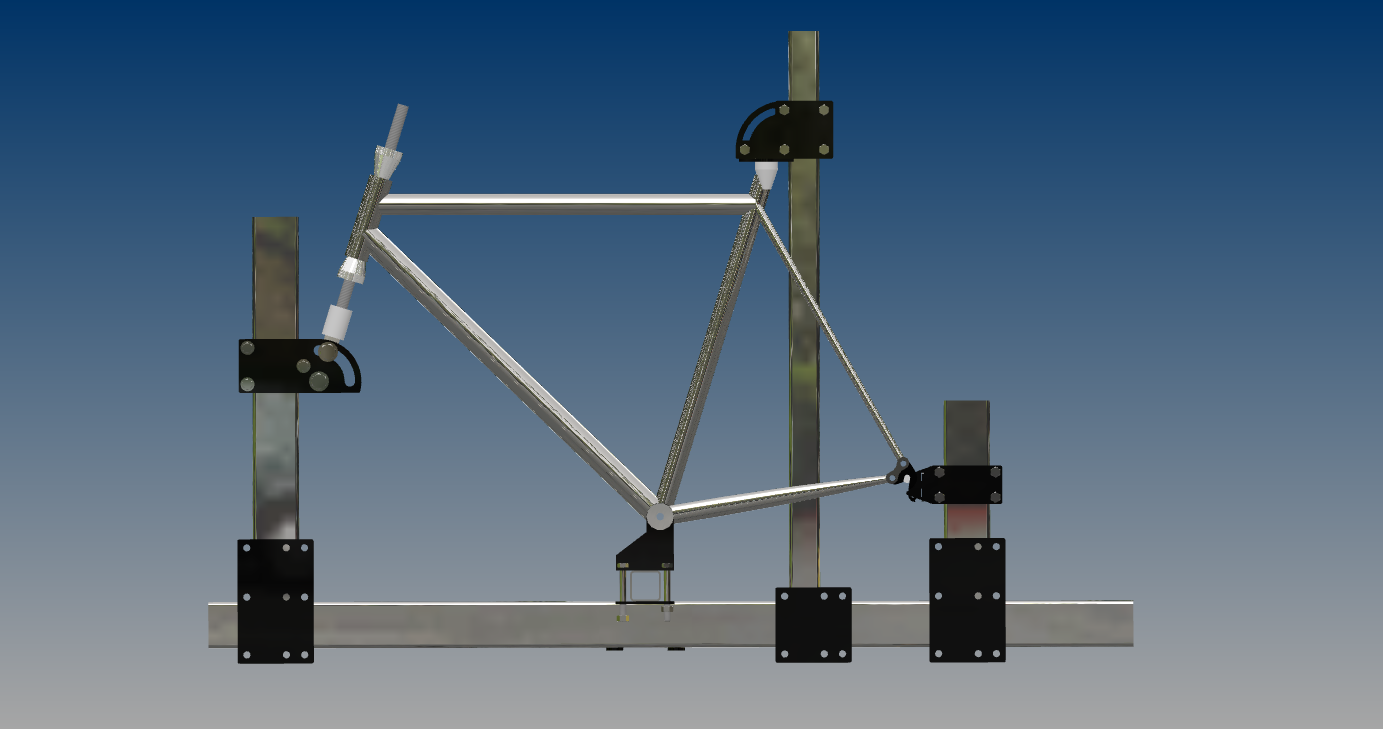
Properly aligning the frame tubes was a different story. Since I was just using square tubing for the jig base, there was no perfect alignment built into the base tube itself. This meant that, to align the tubes properly, I either had to shim various fixturing posts and/or slightly bend the locators. To do this, I first scribed four centerlines on the ends of all the tubes and placed a floating laser at the front and back of the frame. I also added leveling feet to the jig base to establish the base datum. I used a digital level to measure the tube angles and the laser to align them along the center plane. The process was very tedious to set up and required multiple checks while tacking the tubes together.
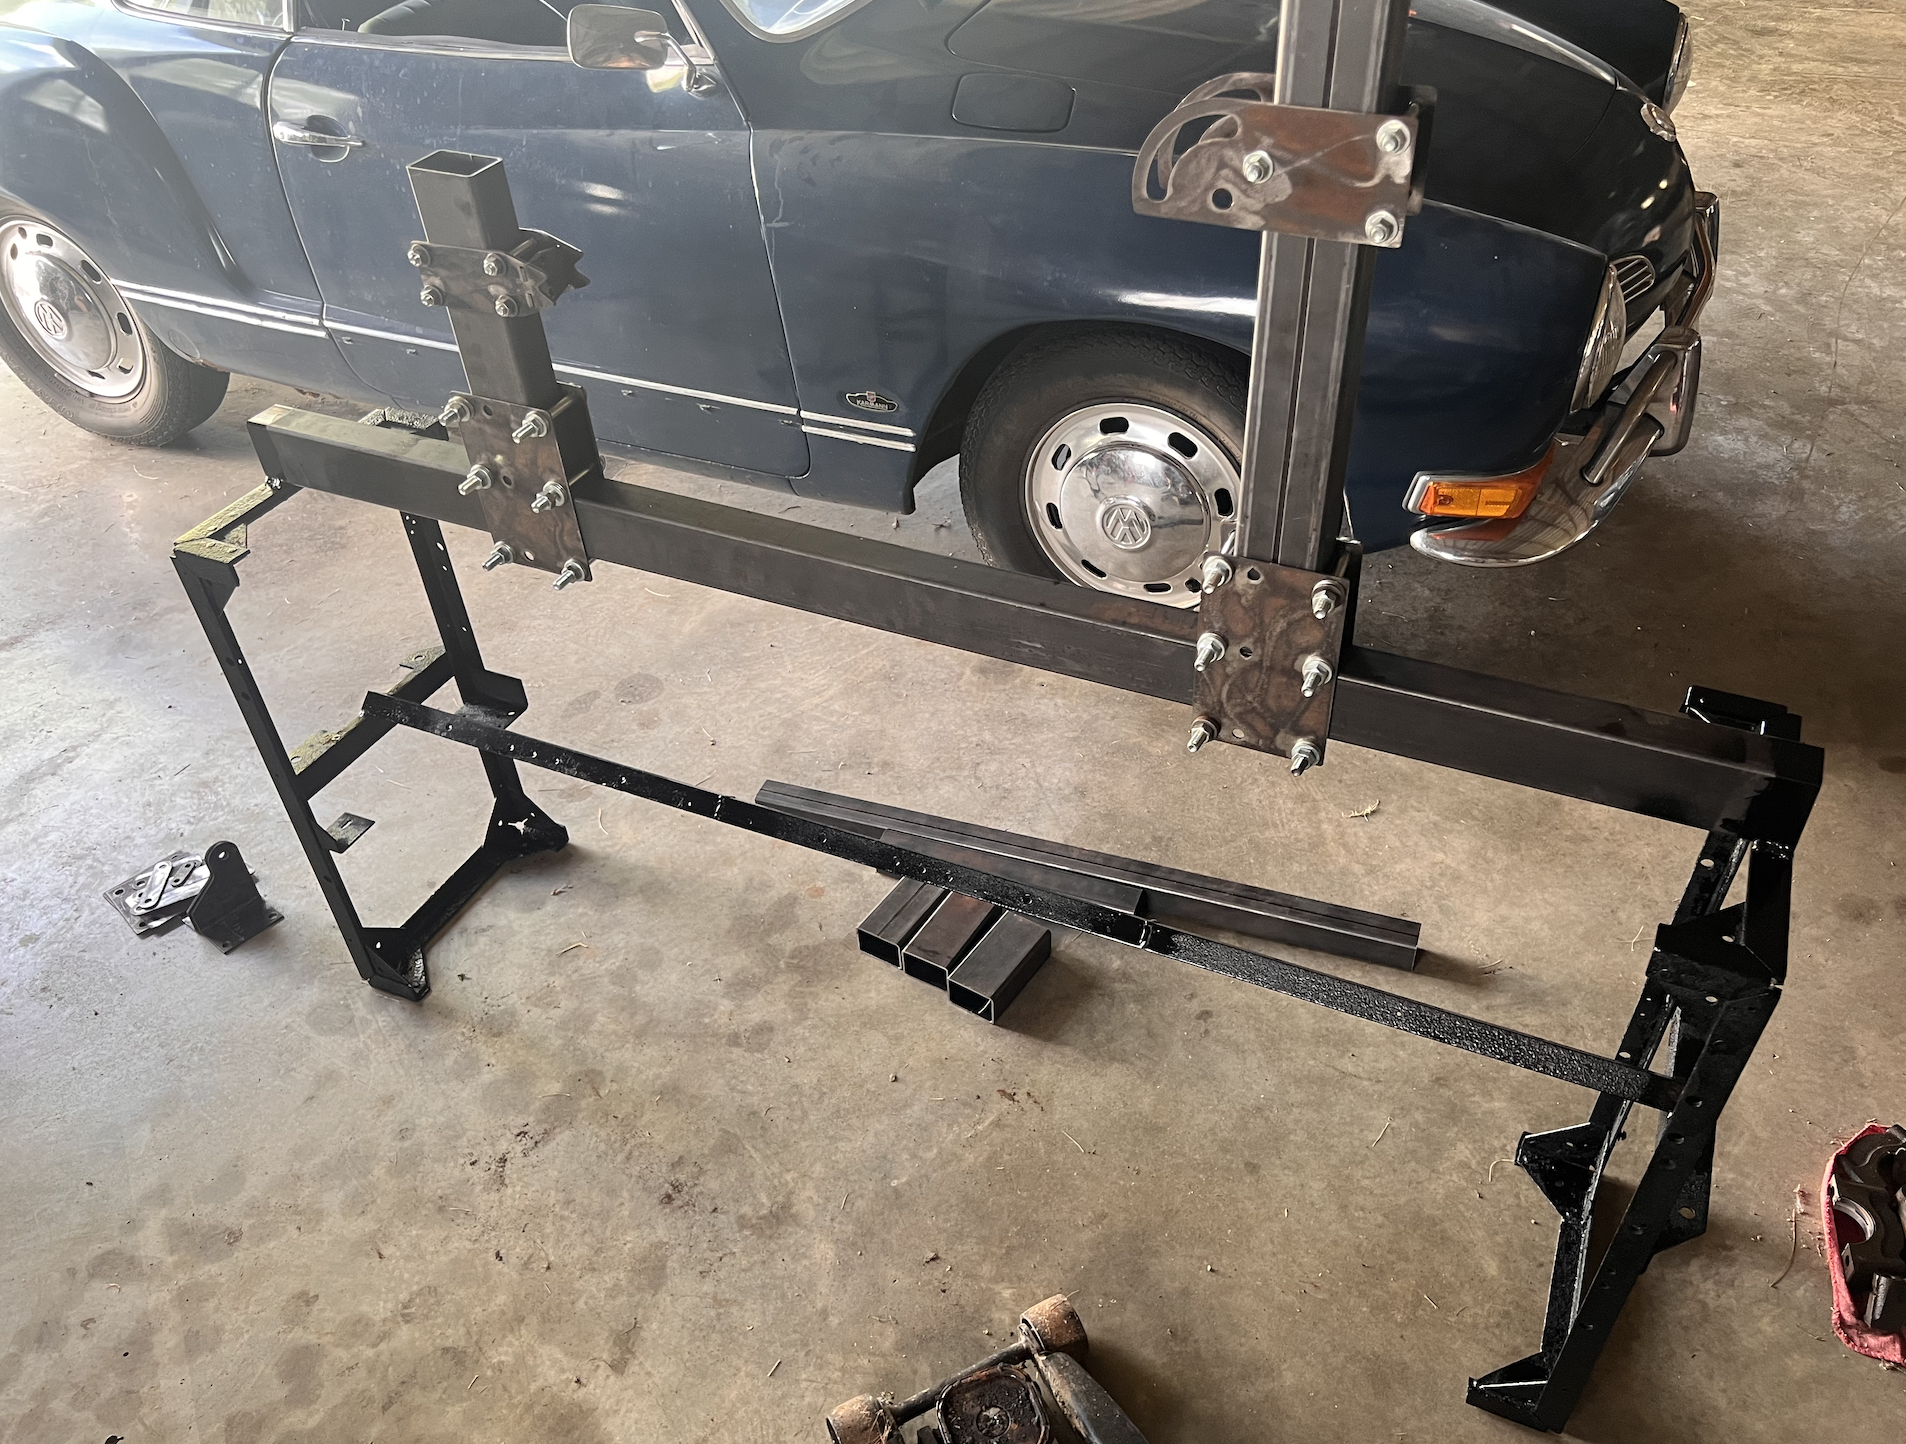
Sadly, at this time, the frame has not been fully welded. This project has been in the making for a while, not because of its complexity, but because of various sudden changes in circumstances. However, I can finally say that welding on the frame is actually being completed and that updates will follow shortly.